User Guide
Introduction
Checklist Activity for SCSM can be used to add multiple working steps as a simple checklist into a single activity. Once all steps are marked as completed, the activity will be completed and the process will be driven forward. You can use Checklist Activities just like you use manual activities and add them to your Service Request, Change Request, and Release Record templates.
Main Features:
- New activity type to simplify processes
- Create a checklist inside a single activity
- Assign Checklist Activity to an activity implementer
- When a task is completed, the person completing the task, the complete date and comment will be logged
- The Checklist Activity completed when all tasks items are marked as complete
Installation
Installation
The installation is performed using the management pack import functionality of SCSM. Please refer to the Microsoft TechNet Library for more information on how to import management packs:
http://technet.microsoft.com/en-us/library/hh524269.aspx
Follow these steps to install Operaio Checklist Activity for SCSM:
- Log on to SCSM Workflow server using an account with administrative privileges in SCSM. The SCSM Workflow Server is by default the first SCSM Management Server installed.
- For SCSM 2012, import the itnetX.ChecklistActivity.2012.mpb management pack.
For SCSM 2016, import the itnetX.ChecklistActivity.2016.mpb management pack. - Import the itnetX.SCSM.Licensing.Library.mpb management pack into your SCSM environment.
- Import the itnetX.SCSM.CheckListActvityv1.LicenseInfo.mp or the itnetX.SCSM.scsmProdPackv1.LicenseInfo (Bundle license for Productivity Pack) management pack into your SCSM environment.
- Restart the SCSM Console.
Permissions for other user roles
Operaio Checklist Activity for SCSM introduces a new class to the CMDB of SCSM.
The solution, once installed and activated, is scoped at the Administrators SCSM user role (only the users of Administrators have permissions to write instances of this class).
In a typical environment, your analysts are assigned to other user role profiles, such as Incident Resolvers, Service Request Analysts, or Advanced Operators. To enable other user roles access to Operaio Checklist Activity for SCSM, you must grant permissions to the classes and relationships used by Operaio Checklist Activity for SCSM.
Please follow these steps to grant the required permissions to a user role profile:
- Copy the Set-SCSMProfileOperation.ps1 and Set-itnetXChecklistActivityPermissions.ps1 files to your SCSM management server (copy both files to the same folder).
- Open Set-itnetXChecklistActivityPermissions.ps1 in a text editor of your choice.
- Find the line
$profilename = "AdvancedOperator"and change the value AdvancedOperator to the desired user role profile. Possible values are:
a. EndUser
b. ActivityImplementer
c. AdvancedOperator
d. Author
e. ChangeInitiator
f. ChangeManager
g. IncidentResolver
h. Operator
i. ProblemAnalyst
j. ReadOnlyOperator
k. ReleaseManager
l. ServiceRequestAnalyst - Find the line
$scsmServerName = "localhost"and change the value localhost to the name of your SCSM management server if needed. - Save and close the file.
- Run Set-itnetXChecklistActivityPermissions.ps1 in PowerShell as an administrator.
Upgrade from a previous version
To upgrade any previous version:
- Start the SCSM console as an SCSM administrator
- For SCSM 2012, import the itnetX.ChecklistActivity.2012.mpb management pack
For SCSM 2016, import the itnetX.ChecklistActivity.2016.mpb management pack - Restart the SCSM Console.
How it works
In the following we’re going to describe how to use Operaio Checklist Activity for Service Requests. The procedure for Change Requests and other work items is the same.
First we will create a new Activity with multiple tasks in a Service Request template. Then we will look at how to work with Checklist Activities.
Template creation
For the Checklist Activities you need to use templates for the work item type you are using Checklist Activities with, such as Service Request or Change Requests. For the creation of custom templates, you can refer the following TechNet articles:
For Service Requests:
https://technet.microsoft.com/en-us/library/hh519618(v=sc.12).aspx
For Change Requests:
https://technet.microsoft.com/en-us/library/hh495644(v=sc.12).aspx
Adding Checklist Activities to the template
- Open the previously created template
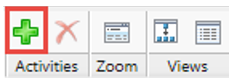
- In the form move to the Activities tab and press the
+button to add a new Activity
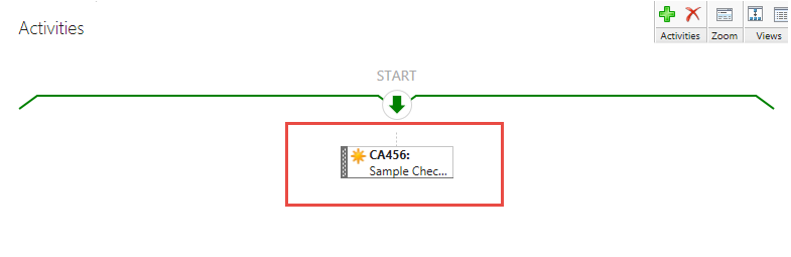
- Here you can select the Default Checklist Activity
- Except for the tasks section, all fields are the same as those in a normal Manual Activity (Activity implementer, Priority, etc.)
- Enter a name and optionally a description for this Activity
- In the Tasks section you can add the tasks for this Activity by clicking on Add
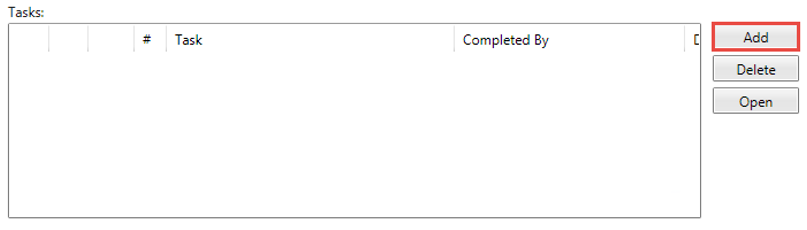
You can also view and edit existing tasks, while the status is not Completed, Failed or Cancelled. - In the Checklist Task form, enter a name for the task and click apply (a name is required); the other fields will be filled in automatically.

- Now we can see our task in the list and we can add more if required:

- When you’re done you can save the Activity and add more if required.
Checklist Activity Usage
In the previous section we described how to create a Service Request template with Checklist Activities. Now we take look how to work with a Service Request with Checklist Activities.
- Open a Service Request includes a Checklist Activity.
- Go to the Activities tab section
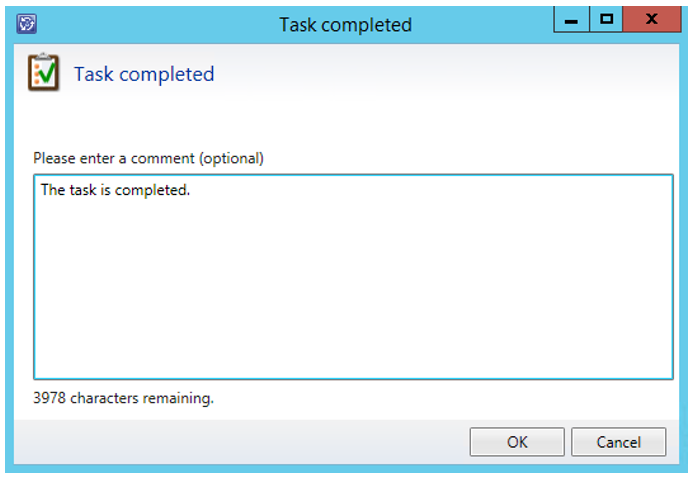
- Double click the Activity, check the completed task and enter a comment
- When you have completed all tasks in the list, you can decide to set the whole Activity to be mark as Completed.
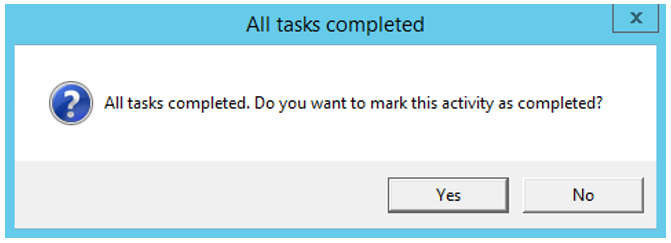
- When you choose Yes the Activity is marked as completed after saving.
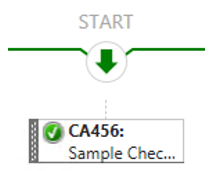
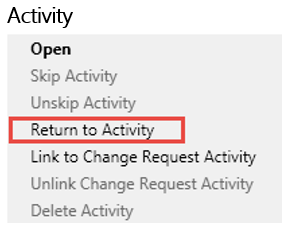
- If you need to reactivate an Activity to repeat or modify some tasks, you first need to return to the Activity. To do this, right-click on the Activity you want to return to and select Return to Activity
- Save the request, wait for the workflow to reactivate the activity, and then you can uncheck or modify the existing tasks
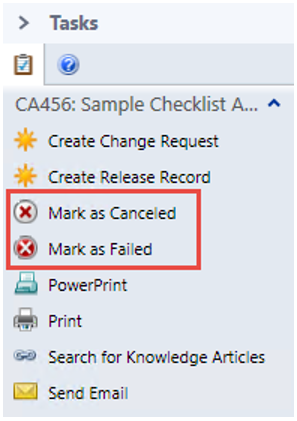
- You can also set an Activity as Failed or Cancelled by using the task pane in the Checklist Activity form:
Checklist Activities in ITSM Portal
Checklist Activities can also be viewed and edited in the ITSM Portal. When an Activity has assigned to you, you can find it in the ITSM Portal under My Activities
Views
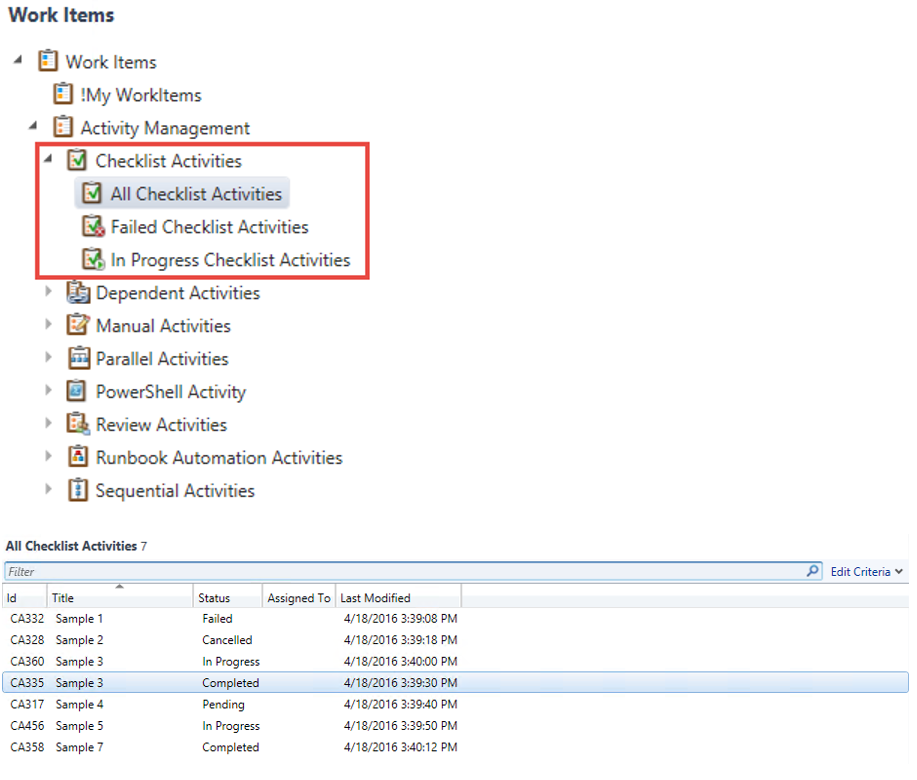
With the Operaio Checklist Activity there are also some new views available in the console under Work Items -> Activity Management -> Checklist Activities. Here you can find all Checklist Activities in one view. You can also filter by state:
Configuration
Operaio Checklist Activity for SCSM is ready to use after the installation completes, however you can configure additional options.
Change prefix
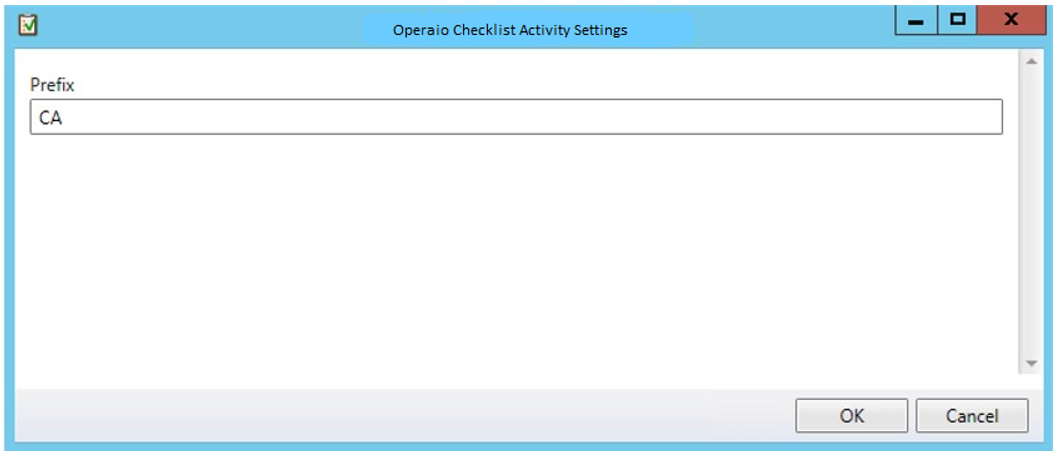
As default for Checklist Activities the prefix CA is used. If necessary, you can also use a custom prefix for your Checklist Activities. To change this, follow the steps below:
- In the console navigate to Administration -> Settings -> Operaio Checklist Activity Settings
- Specify the prefix you want to use and click OK: